Preparation
- A Raspberry Pi 4 device. This can be purchased from major online e-commerce platforms, in the form of either a board only, or a kit that contains everything we need to use a Raspberry device, such as a Type-C power supply unit, a micro-HDMI to HDMI cable, a microSD card, a card reader, a case, et.
- A USB Type-C power adaptor to supply power for the Raspberry device.
- A 16GB+ microSD card. This will serve as the storage (like hard drive) of the Raspberry device, and we are going to copy an image of Debian system to this card.
- A laptop/desktop with a Windows system. This is used to download the Debian image and responsible for writing the image. Laptops or desktops with a Linux system serve the same purpose.
- A microSD card reader. Most laptop/desktop does not have a microSD card reader, so that an external one is needed. Such a reader can be purchased online easily, or sometimes comes with a Raspberry kit.
- A USB keyboard. This is used to perform some initial configuration, but no longer needed after that.
- A micro-HDMI to HDMI cable. This is used to connect the Raspberry Pi device to a monitor that has a HDMI port. It is also no longer needed after we configure Debian to be accessible via SSH.
- A monitor with a HDMI port.
For software, we prepare the Windows system with the Raspberry Pi Imager that is used to write a Debian image to the microSD card. Download the .exe installation file from Raspberry Pi Imager, double-click it, and follow the instruction to complete the installation of Raspberry Pi Imager.
Raspberry Pi OS
This is a Debian derivative that is customized to Raspberry Pi devices. Installation is rather straightforward:
- Insert the microSD card into the card reader and connect the reader to a laptop/desktop.
- Start Raspberry Pi Imager, and then click the button CHOOSE OS and choose Raspberry Pi OS (32-bit). This version of Pi OS comes with a desktop. If you do not want a desktop or need additional applications, you can select Raspberry Pi OS (other).
- Click the CHOOSE STORAGE, and select the SD card.
- Click WRITE.
The writing process might take a few minutes. Once it is done, remove the card reader and plugin it back. Now we are able to access the SD card by a file browser. In the root of the SD card, create an empty file exactly named ssh (not ssh.txt or something else). This will enable us to remotely connect to Pi OS. If we want the Pi OS system to connect to WiFi automatically (which is particularly useful if you do not have input devices and monitor for the Raspberry Pi device), we can create a file exactly named wpa_supplicant.conf with following content.
country=SG
ctrl_interface=DIR=/var/run/wpa_supplicant GROUP=netdev
network={
     ssid="WIFI-NAME"
     psk="WIFI-PASSWORD"
     key_mgmt=WPA-PSK
 }
where WIFI-NAME and WIFI-PASSWORD is to be replaced with the actual WiFi name and password.
Now, insert the SD card to the Raspberry Pi device and power on the device. After waiting for a few minutes, the device can be remotely accssed by the user name pi and password raspberry. You now might create new users and/or change password.
Debian 10 (Buster)
Debian, as a popular and stable Linux operating system, is very suitable for building a server acting as a home hub. In addition, if we want to run Home Assistant in a supervised mode on top of another operating system, then Debian is the only supported system; at the time of writing, only Debian 10 (buster) is supported.
Writing Debian Image to MicroSD Card
First, download the Debian image from the Debian official site; here, we use the image created on 2021.02.10 targeting Family=4 and Tested hardware=4.
Next, insert the microSD card into the card reader and connect the card reader into the laptop/desktop running the Windows system. Start the Raspberry Pi Imager and then click the button CHOOSE OS. A new window with a list will pop up and from the list we select Use custom. Then a file browser will pop up, from which we navigate to the Debian image that we just downloaded and select the image.

Then, click CHOOSE STORAGE, and from the list of a pop-up window we choose the SD card.

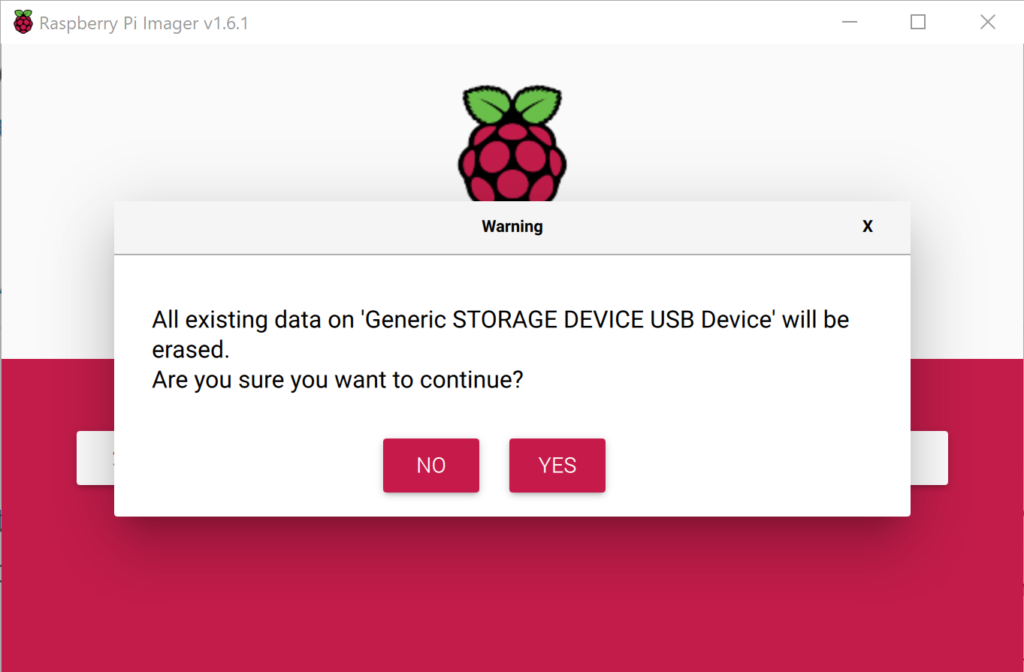
Next, we click WRITE to start writing the image to the selected SD card. In the pop-up window, click YES to confirm the action.
The writing process takes a few minutes to complete, and then the following window pops up. Remove the SD card and click CONTINUE. At this point, the Debian image has been written to the SD card.

Configure Users and SSH
We insert the microSD card to the Raspberry Pi device. Also, connect the micro-HDMI to HDMI cable to a monitor, a USB kerboard to Rashberry Pi, and also the Type-C power cable to the Rashberry Pi device. Then, power on Rashberry Pi, and Debian starts to boot. The booting process might take a few minutes. Once it is done, a prompt comes up for us to login to the Debian system. For this, the use name is root and no password is needed.
The first thing to do is to set a password for root, by issuing the the following command and then following the instructions.
# passwdThe next is to enable SSH access by the following command.
# nano /etc/ssh/sshd_configIn the prompt, then remove # sign from the line PermitRootLogin and replace prohibit-password with yes. This allows the root user to access the system remotely. Perhaps a better way is to create a new user who act as the root user when necessary. To do so, we shall install the sudo package via the command apt-get install sudo. We all use the command adduser xxxx to create a new user, where xxxx is replaced with the user name of your choice. Follow the instruction to set the password and other information of the new user. After that, we add the user to the sudo group, where xxxx is again replaced with the username we just created.
usermod -aG sudo xxxxNext, we shall allow the new user xxxx to access the system via SSH by adding the line “AllowUsers xxxx” to the bottom of the file /etc/ssh/sshd_config, where xxxx is replaced with the actual username. Issue the command service ssh restart to complete the setup.
Configure WiFi Network
Finally, we shall configure the wireless network so that the system connects to the home network and can be accessible remotely. There are two methods to do so.
Method 1: Using ifup/ifdown
In this method, we shall edit the file /etc/network/interfaces.d/wlan0.
# nano /etc/network/interfaces.d/wlan0Then, remove the # sign from the following lines and replace xxxx with our actual WiFi SSID and password. Save the changes, and connect to WiFi by the command ifup wlan0.
# allow-hotplug wlan0
# iface wlan0 dhcp
#    wpa-ssid xxxx
#    wpa-psk xxxx
Method 2: NetworkManager
This method is slightly more complicated, but recommended if you want to install Home Assistant subsequently, as it avoids some complications. For this, we need to connect Raspberry device to a router via an ethernet cable. This gives the device access to Internet. Then, we use the following commands to install the software NetworkManager.
# apt-get update
# apt-get -y install network-manager
Then, we issue the following command to connect to WiFi, where SSID is your WiFi name, and xxxx is replaced with the password of the WiFi.
# nmcli dev wifi connect SSID password xxxxNote that if as messh WiFi system is used, connection to WiFi from the Raspberry device might experience some problems. For example, it takes longer time to connect to the WiFi, and/or fails to reconnect if the NetworkManager.service is restarted or the system is rebooted. In fact, it is recommended to use wired connection for the Raspberry device for a stabler connection.
Now, reboot the system by
# systemctl rebootAfter that, we use the following command to obtain the IP address that is needed for remote access.
# ip a At this point, we can disconnect the USB keyboard and monitor from the device. To access the device, we can use putty from a laptop running Windows system, and simply ssh from a linux system.
Note: If you run into error “sudo: unable to resolve host (none)”, follow the instruction in the next section to configure /etc/hostname and /etc/hosts files.
Note: NetworkManager might randomly change the MAC address of wlan0 interface, which is undesirable in some cases. This can be fixed by adding the following to /etc/NetworkManager/NetworkManager.conf
[device]
wifi.scan-rand-mac-address=no
Access without IP Address
First, we set up a unique local domain name for the device by editing the file /etc/hostname to contain just the name of the machine, e.g., smartopia. Next, edit the /etc/hosts to the following:
127.0.0.1 localhost
127.0.1.1 smartopia
Now, we shall use Avahi Zeroconf MDNS to broadcast the domain name in the local network.
# install avahi utilities
# after installation, you might test it by using avahi-browse -a
sudo apt-get install avahi-utils

# install and start avahi-daemon if not onboard yet
# check whether onboard by systemctl list-unit-files avahi-daemon.service
sudo apt-get install avahi-daemon
sudo systemctl enable avahi-daemon.service
sudo systemctl start avahi-daemon.service

# edit the config file /etc/avahi/avahi-daemon.conf to activate the following
publish-hinfo=yes
publish-workstation=yes

# now restart the avahi-daemon
sudo systemctl restart avahi-daemon.service
After the configuration, the local domain name of the device is smartopia.local, and the device is accessible remotely, for exmaple, by ssh [email protected].
Create a Backup Image
To create a backup image of the system, we can use a USB drive that
- is formatted to NTFS (for Windows access) or EXT4 (for Linux);
- has free space at least as large as the microSD card where the operating system is installed.
First, we install the tool pishrink.sh:
wget https://raw.githubusercontent.com/Drewsif/PiShrink/master/pishrink.sh
sudo chmod +x pishrink.sh
sudo mv pishrink.sh /usr/local/bin
Next, we plug in the USB drive to Raspberry Pi and use the command lsblk to check the mount point. If the USB drive is not mounted, then we manually mount it. Suppose the the drive has been mounted to /media/usb, the device name for the drive is sda, and the device name for the microSD card is mmcblk0. Now we copy all data to an image file and then shrink it.
sudo dd if=/dev/mmcblk0 of=/media/usb/backup.img bs=1M
cd /media/usb
sudo pishrink.sh -z backup.img